Setup
Auto Add Item Lines has an integrated setup wizard to assist you with the initial configuration of the extension. It is recommended to use the setup wizard page to set up the extension.
-
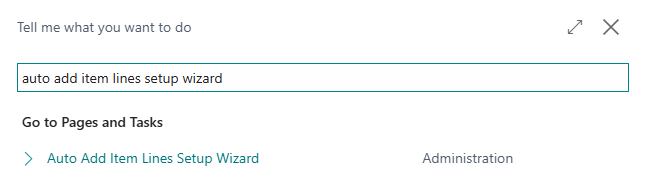
Search for and open the Auto Add Item Lines Setup Wizard page using the Tell Me search feature.
-
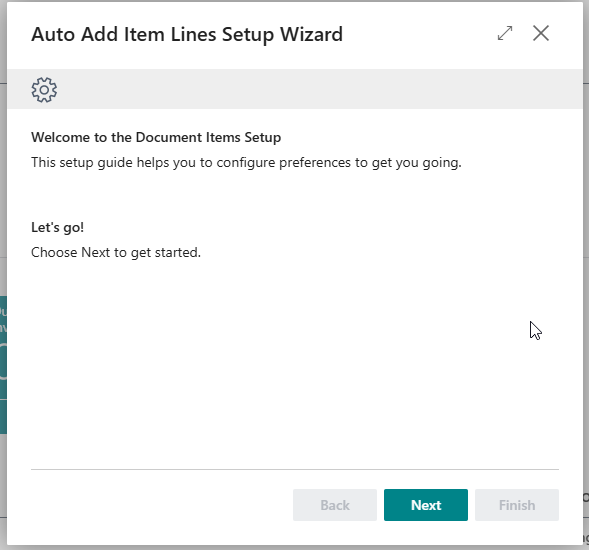
Read the introduction and click on Next to move on to the next step.
-
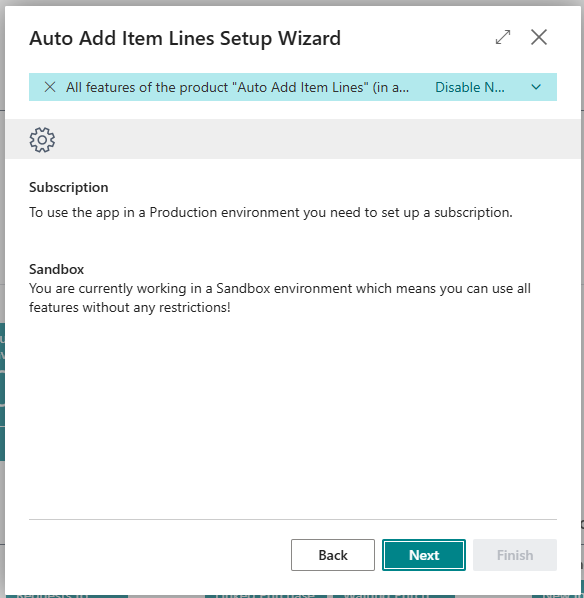
Read the information about the extension being free-to-use in Sandbox environments and requiring a subscription in Production environments and choose Next to move on to the next step.
-
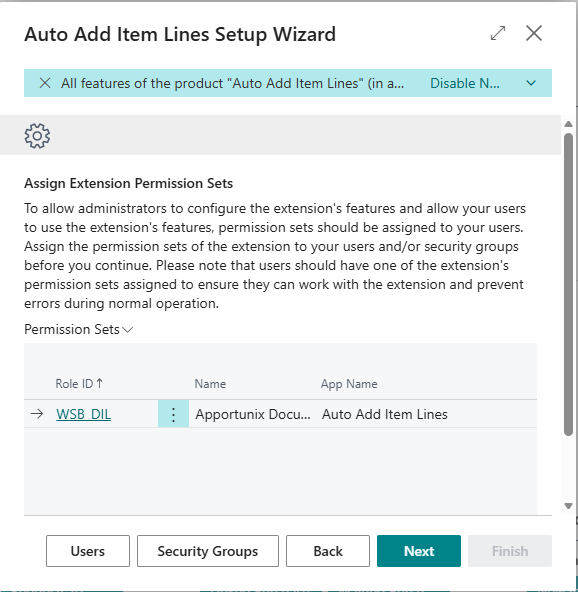
Read the information regarding the Extension Permission Sets and assign these accordingly. Click on Next to move on to the next step.
-
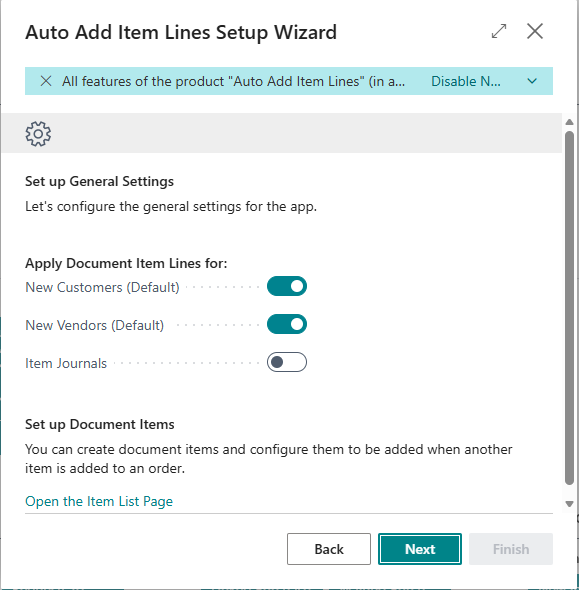
Set up general settings for Auto Add Item Lines. Click on Next to move on to the next step.
-
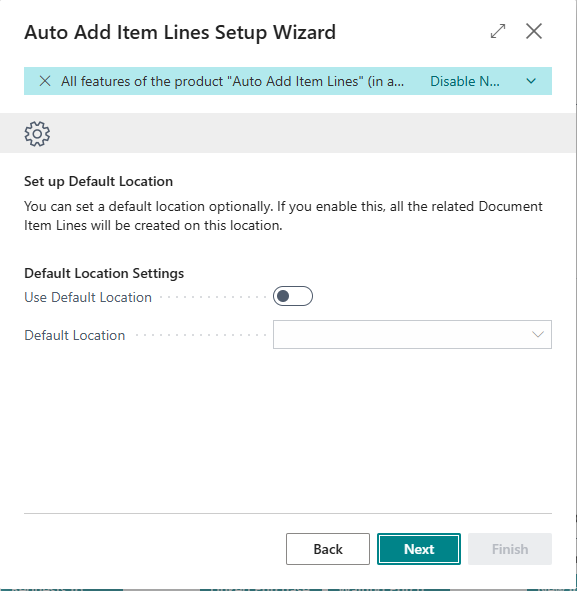
Set up locations settings for Auto Add Item Lines. Click on Next to move on to the next step.
-
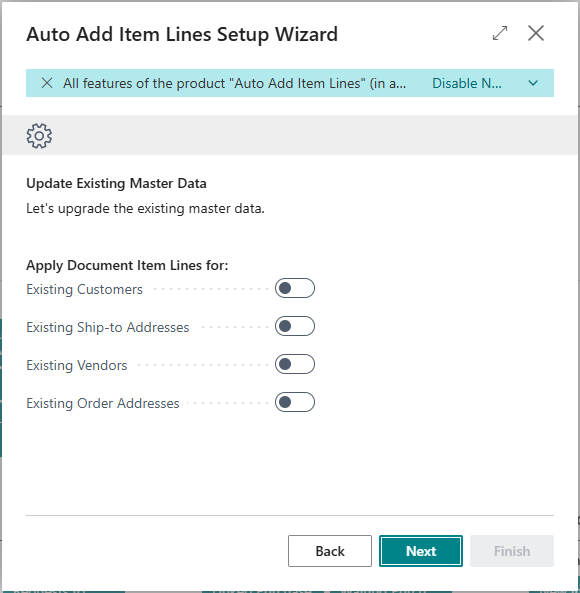
Set up existing data for use with Auto Add Item Lines. Click on Next to finish the setup wizard on the next page.
Apportunix Auto Add Item Lines is now configured and is ready to be used. More details about the Setup options are described on the Setup page of this manual.